Installing new hardwood floors can be a rewarding way to update your home, but it requires careful planning and attention to detail to ensure a successful outcome. Here are some general steps to guide you through the process:
- Selecting the Right Hardwood: Choose the type of hardwood flooring that best suits your needs and preferences, considering factors such as species, color, grade, and width of the planks.
- Preparing the Subfloor: Ensure that the subfloor is clean, flat, dry, and structurally sound before installation. Remove any existing flooring material, nails, or staples, and make any necessary repairs or adjustments.
- Acclimation: Allow the hardwood flooring to acclimate to the environment of the installation site for at least 48 hours before installation. This helps minimize the risk of expansion or contraction after installation.
- Layout Planning: Plan the layout of the hardwood planks, considering factors such as room dimensions, natural light sources, and aesthetic preferences. Start from the longest, straightest wall in the room, typically opposite the main entrance.
- Underlayment Installation (if necessary): Depending on the type of hardwood flooring and the subfloor material, you may need to install an underlayment to provide cushioning, moisture resistance, or sound insulation.
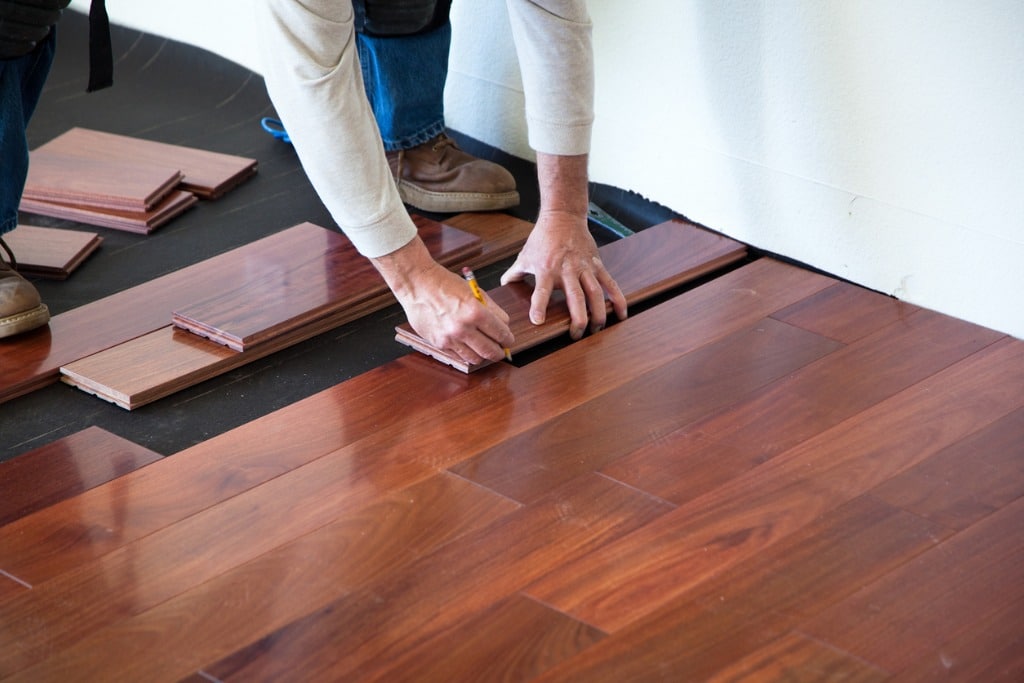
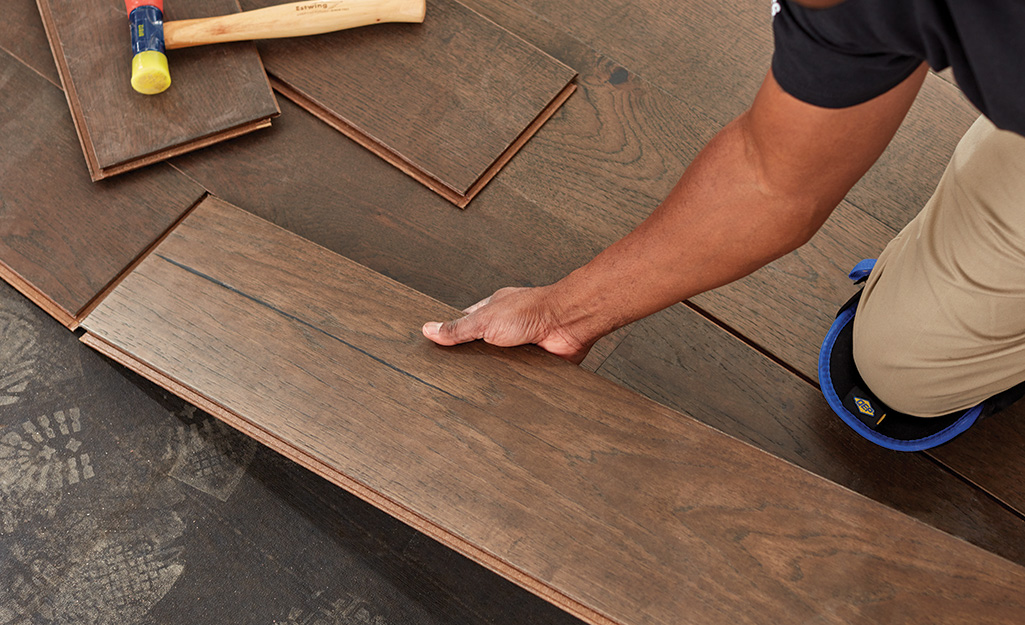
- Installation: There are several methods for installing hardwood flooring, including nail-down, staple-down, glue-down, and floating installations. Follow the manufacturer’s guidelines and best practices for your chosen method.
- Nail-down: Secure hardwood planks to the subfloor using nails or cleats, typically at a 45-degree angle through the tongue of each plank.
- Staple-down: Similar to nail-down installation, but using a pneumatic stapler instead of nails.
- Glue-down: Apply adhesive to the subfloor and press the hardwood planks into place, ensuring a firm bond.
- Floating: Install the hardwood planks over an underlayment without attaching them to the subfloor. Planks are typically connected using a tongue-and-groove system or click-lock mechanism.
- Trimming and Finishing: Trim the last row of hardwood planks to fit, leaving a small gap around the perimeter of the room to accommodate expansion. Install baseboards or quarter-round molding to cover the expansion gap. Apply any desired finish, such as stain and sealant, according to the manufacturer’s instructions.
- Cleanup: Remove any excess adhesive, dust, or debris from the newly installed hardwood floors.
- Maintenance: Follow proper maintenance practices to keep your hardwood floors looking their best, including regular cleaning, avoiding excessive moisture, and promptly addressing any spills or damage.
Contact Perfection Flooring for a Quote
123-345-3688


