Removing hardwood flooring can be a labor-intensive process, but with the right tools and techniques, it can be done effectively. Here’s a general guide on how to remove hardwood flooring:
- Prepare the Area: Clear the room of furniture, rugs, and other obstacles to provide a clear workspace. Consider covering any nearby vents or openings to prevent dust from spreading to other areas of the house.
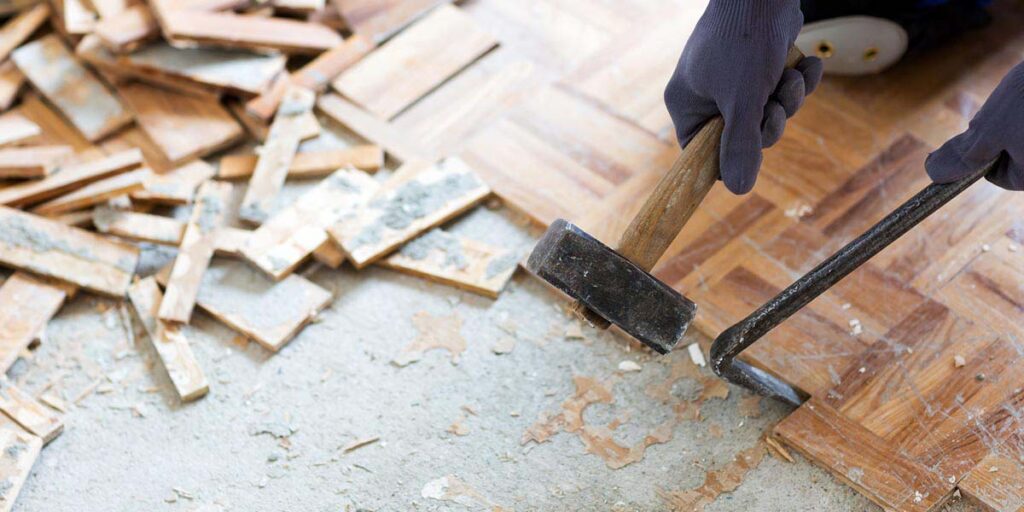
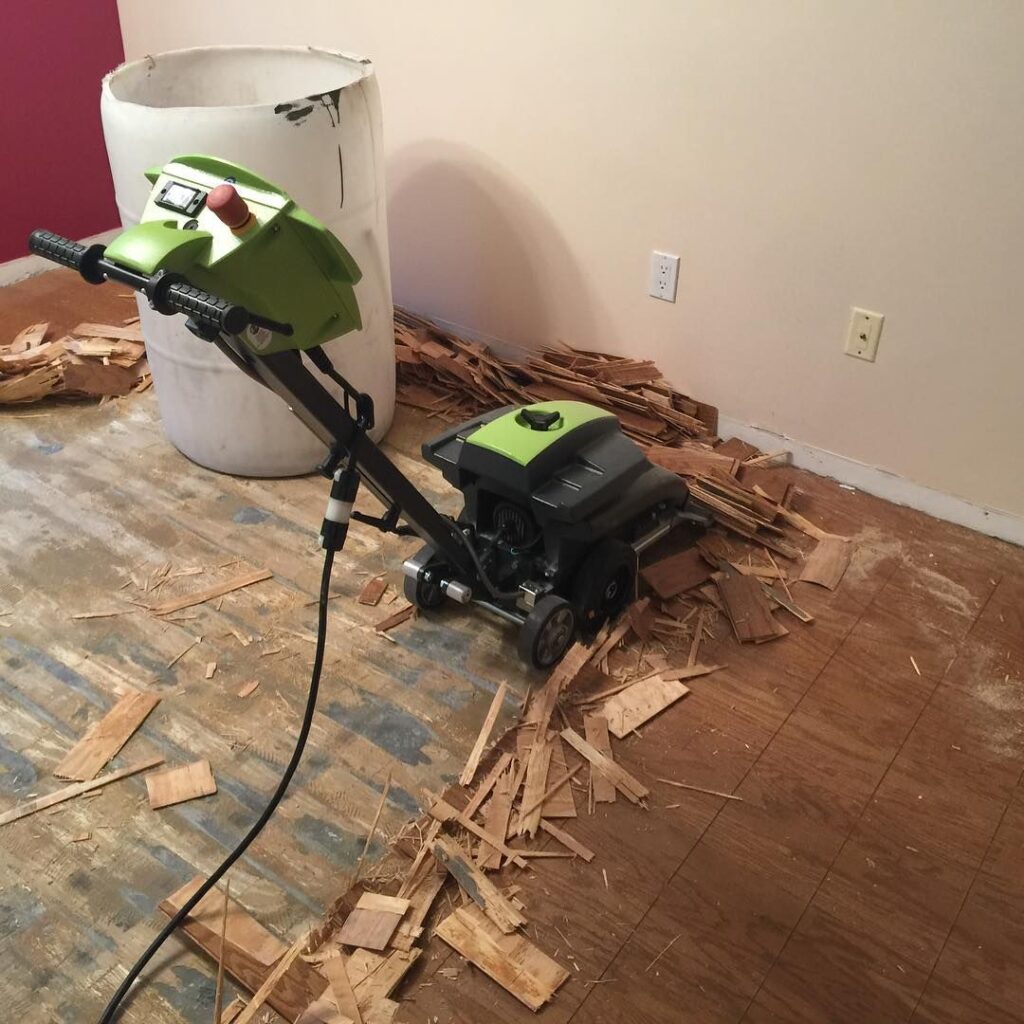
- Gather Tools and Safety Equipment: You’ll need a few tools to assist with the removal process, including a pry bar, hammer, crowbar, reciprocating saw, and possibly a floor scraper. Additionally, wear safety gear such as work gloves, safety goggles, and a dust mask to protect yourself from splinters, dust, and debris.
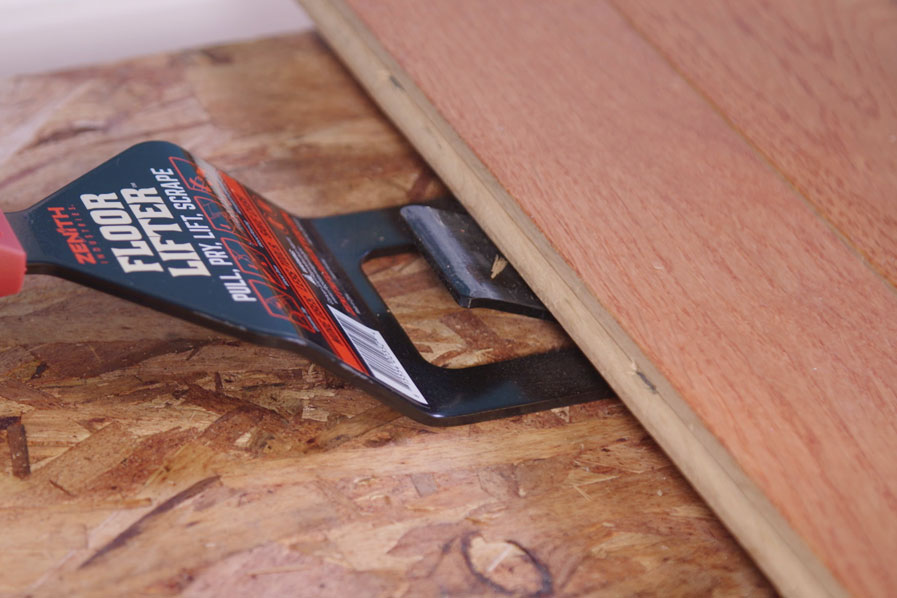
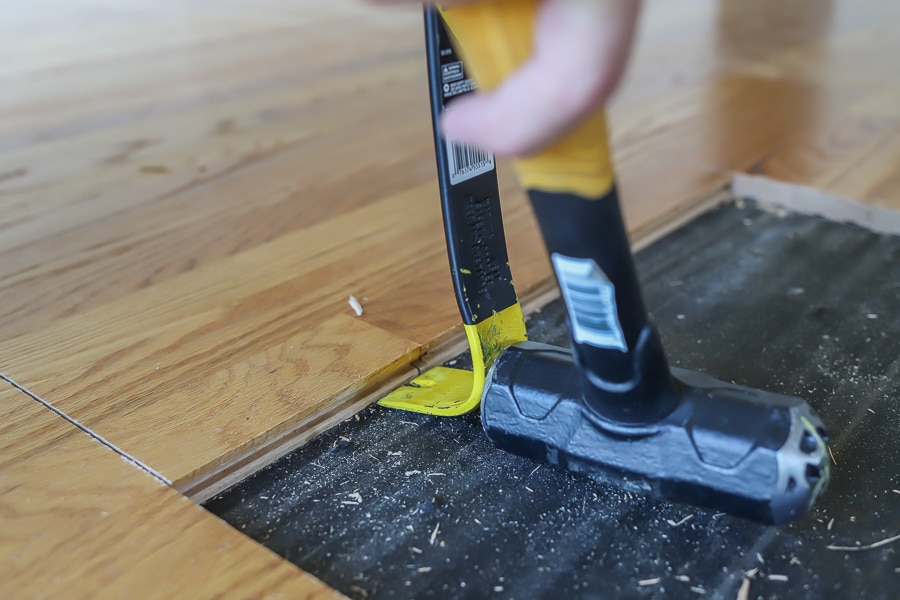
- Start at the Edge: Begin removing the hardwood flooring from one edge of the room. If the hardwood flooring is nailed down, use a pry bar or crowbar to gently lift the edge of the first plank. If it’s glued down, you may need to use a reciprocating saw to cut through the adhesive along the edge.
- Work Methodically: Once you’ve loosened the first plank, continue to work your way across the room, removing one plank at a time. Use the pry bar or crowbar to lift each plank, taking care not to damage the subfloor underneath.
- Remove Nails or Staples: As you remove each plank, check the subfloor for any remaining nails or staples. Use a hammer or pry bar to pull out any nails, and a pair of pliers to remove staples.
- Dispose of Materials: Stack the removed hardwood planks neatly outside the room for disposal or recycling. Consider contacting your local waste management or recycling center for guidance on how to properly dispose of hardwood flooring materials.
- Address Subfloor Issues: Once all the hardwood flooring has been removed, inspect the subfloor for any damage or remaining adhesive. Depending on the condition of the subfloor, you may need to make repairs or prepare it for new flooring installation.
- Cleanup: Thoroughly clean the room to remove any remaining dust, debris, or adhesive residue. Sweep or vacuum the subfloor, and wipe down any surfaces as needed.
- Dispose of Waste: Properly dispose of any waste materials, including hardwood planks, nails, staples, and packaging. Again, check with your local waste management or recycling center for guidance on proper disposal methods.
- Consider Professional Help: If you’re unsure about how to safely and effectively remove hardwood flooring, or if the flooring is particularly old or difficult to remove, consider hiring a professional flooring contractor with experience in hardwood floor removal.
By following these steps and taking your time, you can successfully remove hardwood flooring and prepare the space for new flooring installation or other renovations.
Contact Perfection Flooring LLC
123-456-7890


